| Permalink: |
Uploading documents to the Verification Centre
You can upload photos of documents in WM Keeper Standard: either on the website or in the WebMoney Keeper application (from the "Settings" - "Account" section).
To upload a document, you must follow these steps:
1. Login to WM Keeper Standard.
2. Locate the "Photos of documents" section in the account settings.
3. Select a document type and press "Edit".

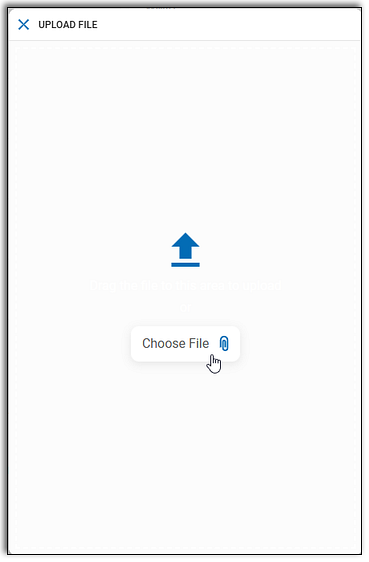
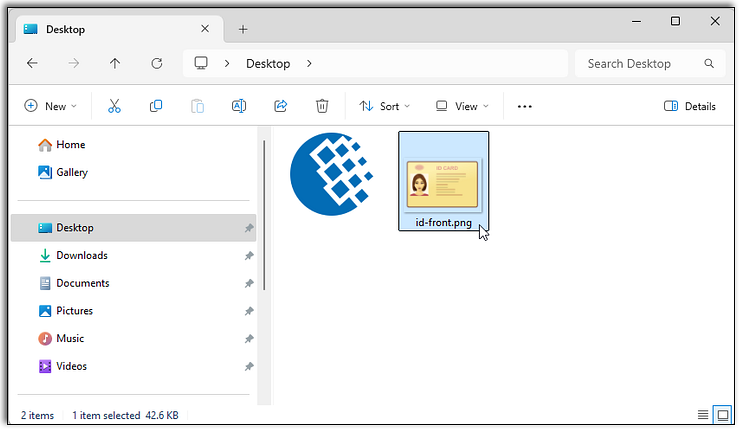
- upload a document by selecting it from the device storage
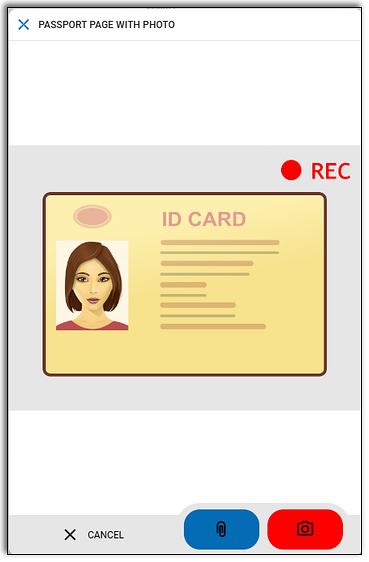
- or capture a photo using a webcam or a smartphone camera

4. Press the "Select a file"/ "Take a photo" button.
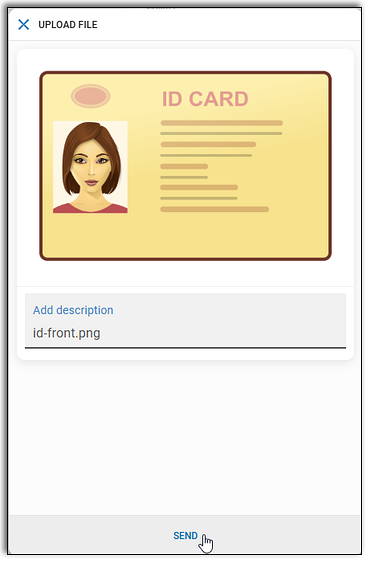
Perform the selected action in the pop-up window (take a picture or select a file) and press "Send".


ATTENTION:
Uploaded photocopies must be in COLOR. You can only upload JPG and PNG files less than 10 MB in size.
5. After the successful upload you will receive a corresponding notification and the document status will be changed to Uploaded, awaits check...

6. Once your document has been verified, its status will change to Checked.

If your documents are not verified within 10 working days after uploading, you can contact the Verification Centre administrator by creating a support ticket on this page.
See also:
Verification Centre